
This is a folding workbench from scrap wood for my small shop in the garage corner. It’s a quick and easy build with simple tools. It serves as an extension right besides my old bench.
Contents
Materials
- 1 old shelf from garage cabinet
- 2 scrap wood sticks
- 2 door hinges
- 1 piano hinge
- Some screws
Tools
- 1 hacksaw
- 1 block plane
- 1 file
- 1 electric drill and a 3/8 drill bit for metal
Making steps
Prepare hinges for the folding legs

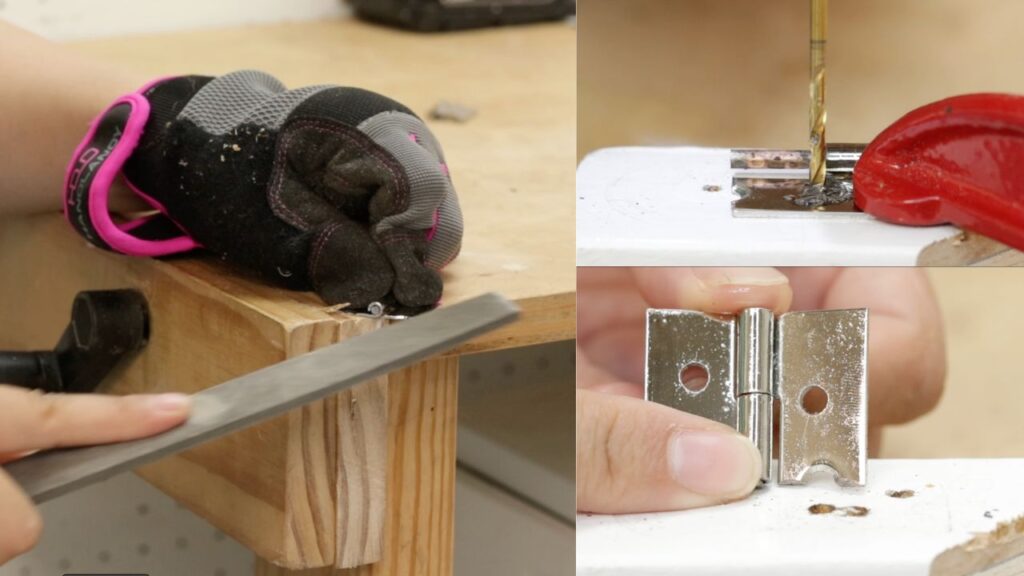
I cut 2 hinges out from a piano hinge for the two folding legs of this small workbench. After cutting, I file all the edges and corners smooth. Then I drill one hole on each side of the hinges for screws later.
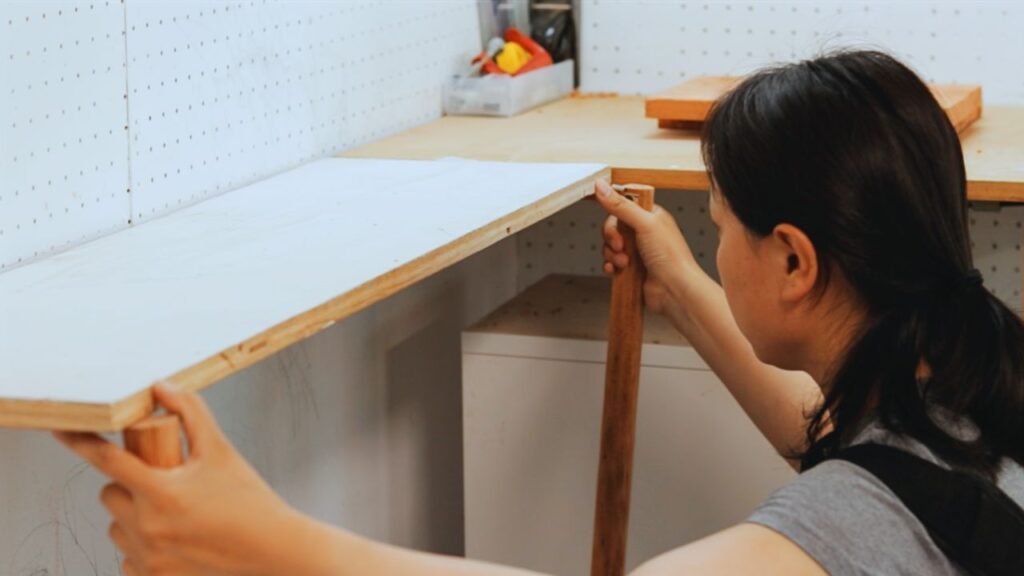
Cut two legs from scrap wood sticks
I got some scrap wood sticks from Grandma. First I cut them to the right length, 34 inches for me. Then I remove old paint on it with a block plane, and smooth their surfaces as well.

Use stud finder to locate screw holes
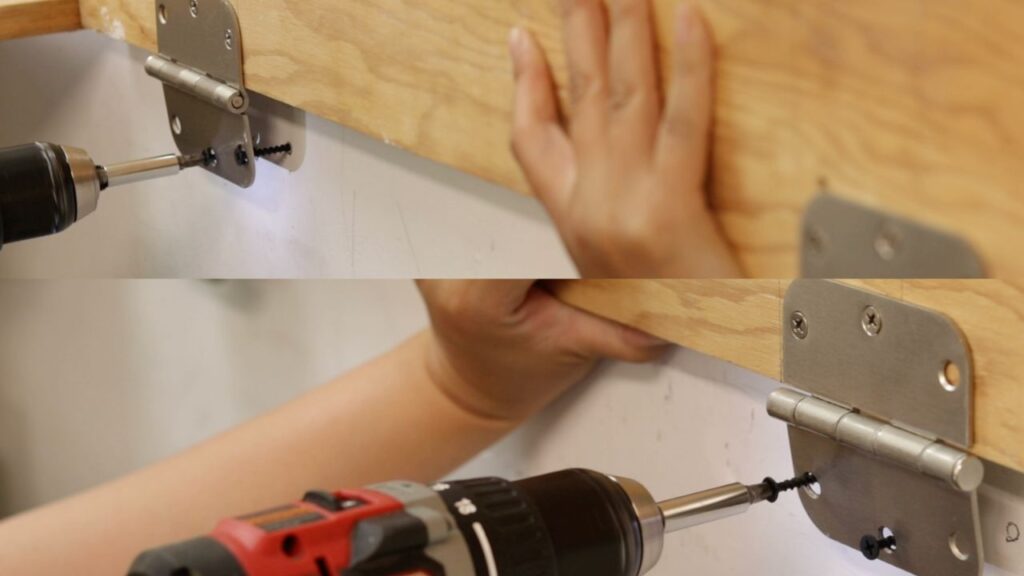
I plan to use two door hinges to attach the workbench top onto the garbage wall. So first I use a stub finder to locate stubs behind the wall, where I can secure my folding workbench onto.
Then I screw on the door hinges onto the workbench top. The bench top is an old shelf board from garage cabinets.

Attach the legs to the bench top
I also screw two folding legs onto the bench top. To my surprise, since the two sides of the small hinges can be easily taken apart from each other, the two legs are now detachable with ease.

Mount the bench top to the wall
Now I can easily remove the legs, and screw the bench top to the wall in my garage. I glue the tiny pin of the hinges on one side in case I accidentally lose them.
This folding workbench serves as an extension for my old bench in my garage corner. When I need extra support, I simply put the two legs back in place by attaching one side of the small hinge back onto the other side.
Hope you enjoy this quick and easy workshop project. Please share with me your ideas to set up a small workshop in the comments below!