
This time let’s make a mini woodworking bench top / a shooting board for my small shop at the garage corner. It’s made of plywood, 12 by 12 inches with 12 holes on it. I can place bench dogs to create angles of 30, 45, 90, 60 degrees. My free workbench holes’ plan can be downloaded from the link at the end of this post.
Contents
Material
- 1/2 inch plywood board;
- Some screws;
- Wood glue;
- Some sand papers
Tools
- Hand saws;
- A hand swing brace, 3/4″ Forster drill bit, and a 3/4″ Auger drill bit;
- A half round needle file, and a round file;
- An electric drill and a 3/16″ drill bit;
- A level;
- Square, measuring tape and pencil
Steps
Cut out the boards
Cut two 12 by 12 inches boards out from a 1/2 inch plywood board. And cut 3-inch wide off from one of the two board. Glue the two boards together along one of the long sides to make the shooting board base.

Drill holes for bench dogs
With my holes’ plan, I mark the centers of all the holes on both sides of my shooting board. I use a swing brace to bore holes in the thick plywood board.
To get a clean cut on the thin surface of plywood board, a Forster drill bit is of great help.
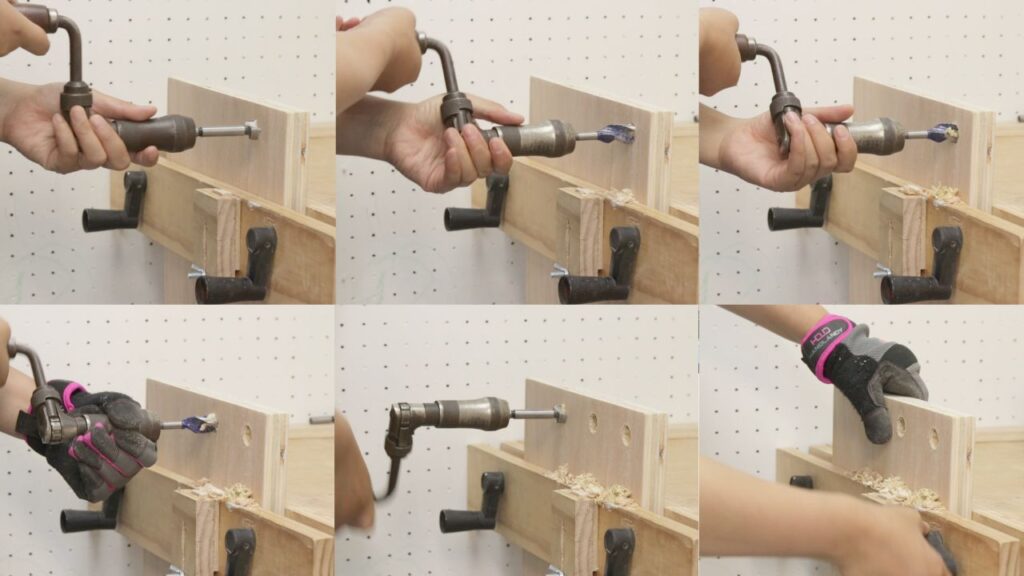
Once I’m through the thin surface, I change to an auger bit. The inside of plywood board is made of layers of rough thin boards with grains arranged in different directions. Without a drill press, it took me a long time to drill through the thick plywood board with just a Forstner bit and an electric drill.
Also, the long center tip on the auger bit reaches out the other side quickly without tearing it with my pushing motion through the board.
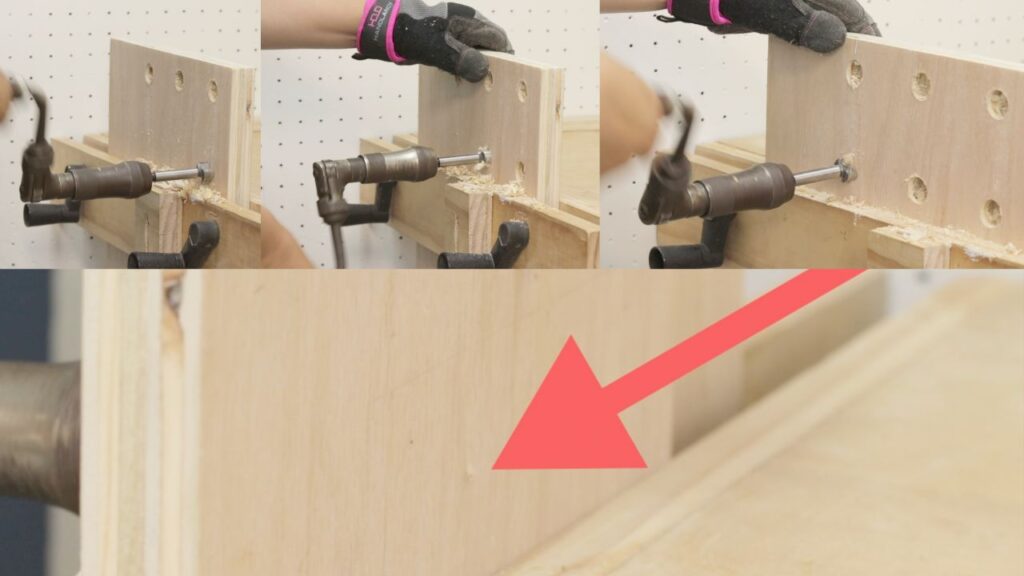
After I finish 12 holes on one side of the board, I turn the board around. I fasten it in my bench vise with the help of a level, and start boring from the other side. The little holes left from the auger bit’s center tip help me find the exact position, and align this side of my hole to its original side.
File hole edges
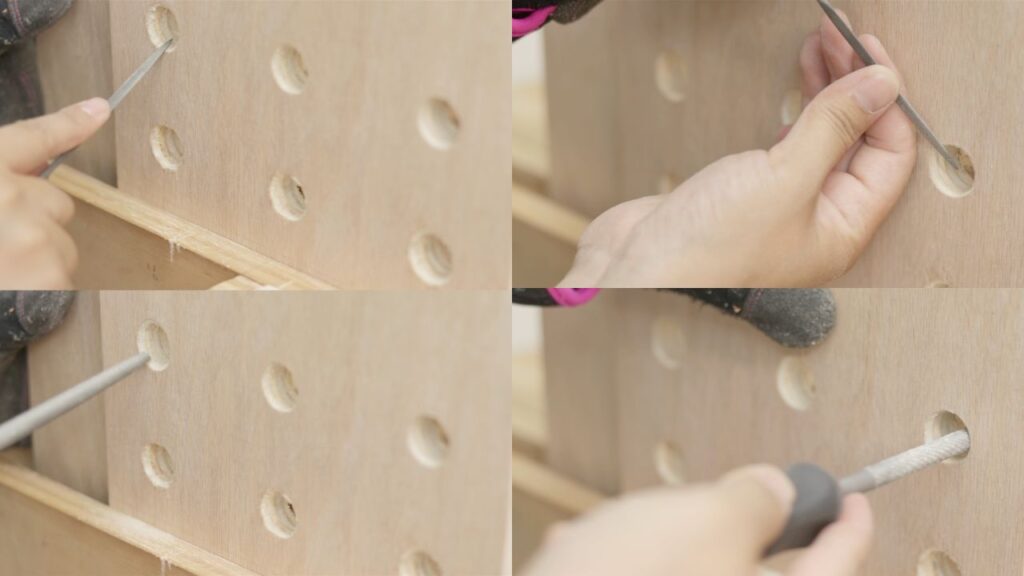
Within our expectation, there would always be some tearing on the surface and some rough cut inside the holes. I choose a half round needle file to clean the surface edge of the dog holes, and a round file to clean the inside of the holes.
Add bottom grip for the shooting board
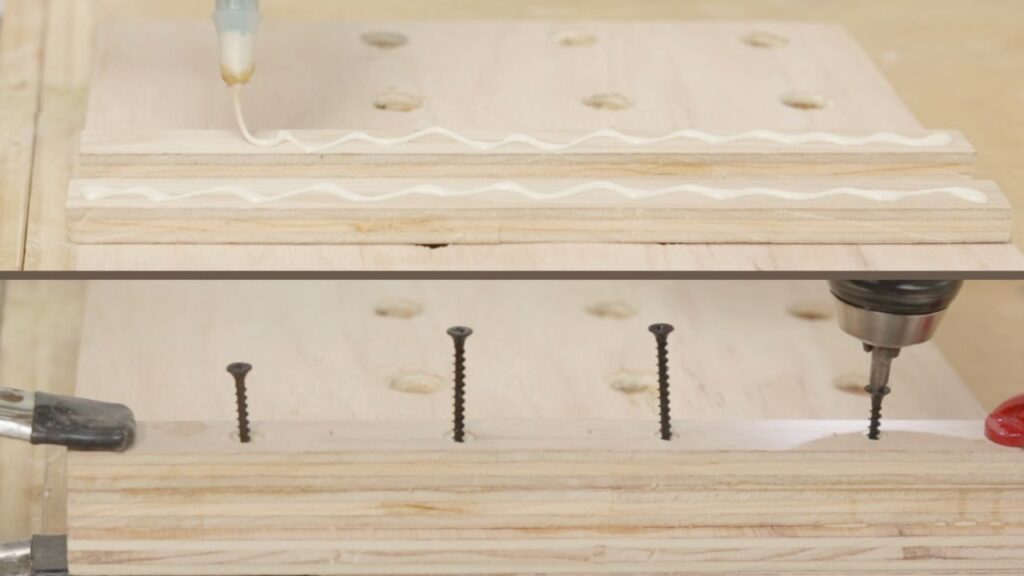
Do you still remember the 3- inch wide scrap board from the first step? It can be used as a grid at the bottom. I cut it in half, and glue them together face to face. Then I screw the thick grip onto the bottom of my shooting board.
Woodworking by hand can never create the super straight line or the nearly perfect 90 degree angle from machines. I would always double check the straight lines and square corners. Since this is a shooting board, I would try sanding, filing or planing with care just to make sure they are as perfect as possible.
Related Link:
How To Cut A Straight Line Using Hand Saws For Beginners
My free workbench holes’ plan