
Here are some tips about using a swing brace to bore holes in plywood for beginners. Hand tools are inexpensive, quiet and safe to start out. With these tips, you can get a pretty decent result as mine. Thanks for coming, and happy making!
Contents:
- Tip 1: Plywood Thin Surface
- Tip 2: Mixed Grains Inside Plywood
- Tip 3: Start Over From the Other Side
- Tip 4: Refine the finish
Tip 1: Plywood Thin Surface
Plywood boards have thin veneer surfaces on both sides. Start boring with Fastener drill bits can get a clean finish on the surface.
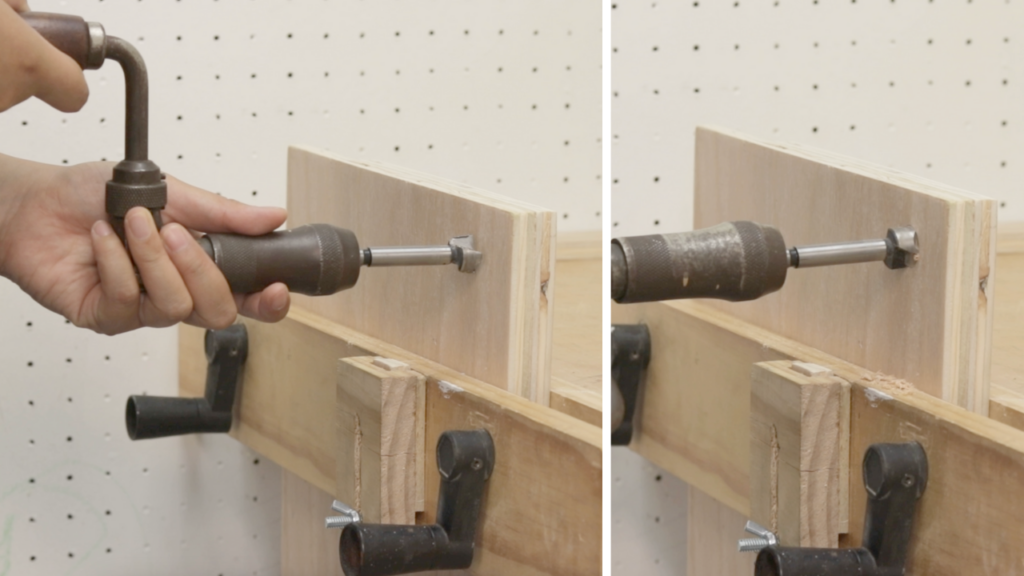
Once you put the center tip of the Fastener bit in the center point of the hole you have already marked before, adjust yourself and the swing brace to keep the bit surface parallel to the plywood surface.
You can try to move the bit counter wise to its drilling direction so as to create a knife cut around the edge of the hole first. This way helps prevent tearing on the veneer surface.
Tip 2: Mixed Grains Inside Plywood
When you bore through the surface, you can consider change the bit to a more aggressive one like Auger bits. Inside the plywood board, there are several layers of mixed grains.
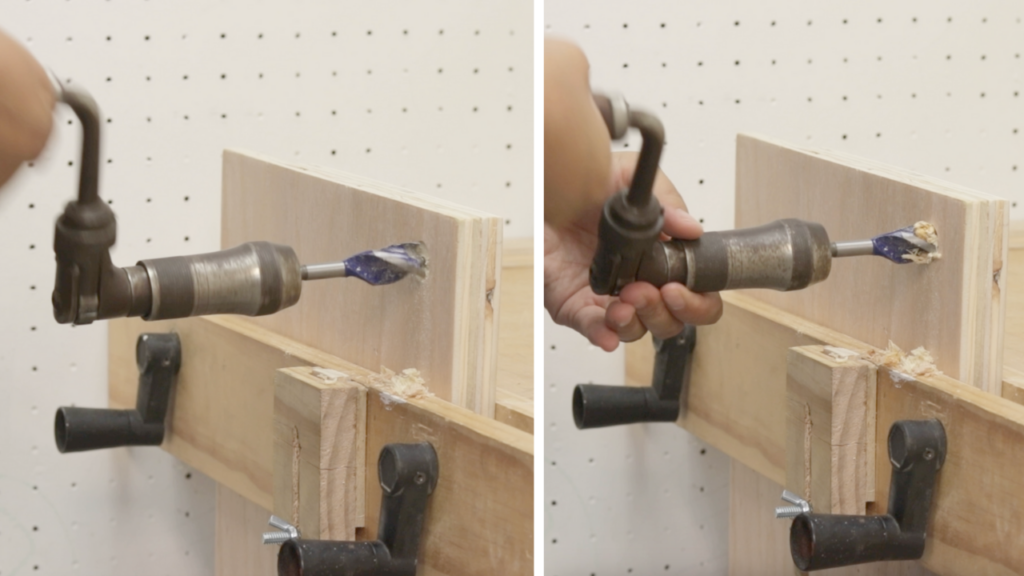
It took me a long time to drill through using only a Fastener bit even with an electric drill. But a brace and an Auger drill bit get the job done so much faster.
Plus, auger bits have long center tips which can reach out the other side of the plywood fast without tear the veneer surface.
Tip 3: Start Over From the Other Side
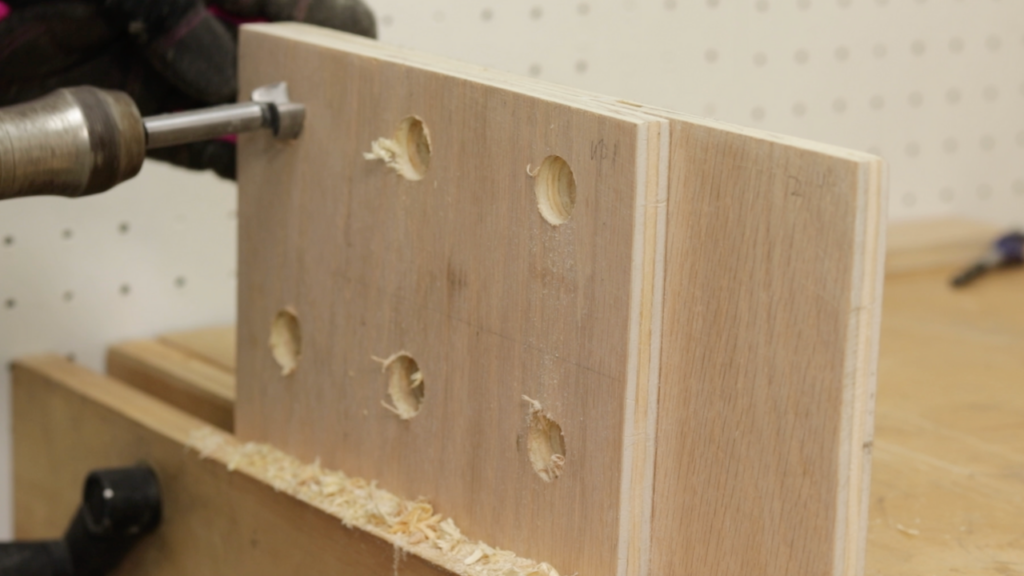
Start over from the other side can prevent tearing the surface when you bore through with a push motion.
What’s more, you can align the hole perfectly just by utilizing the small center hole left by the auger bit before.
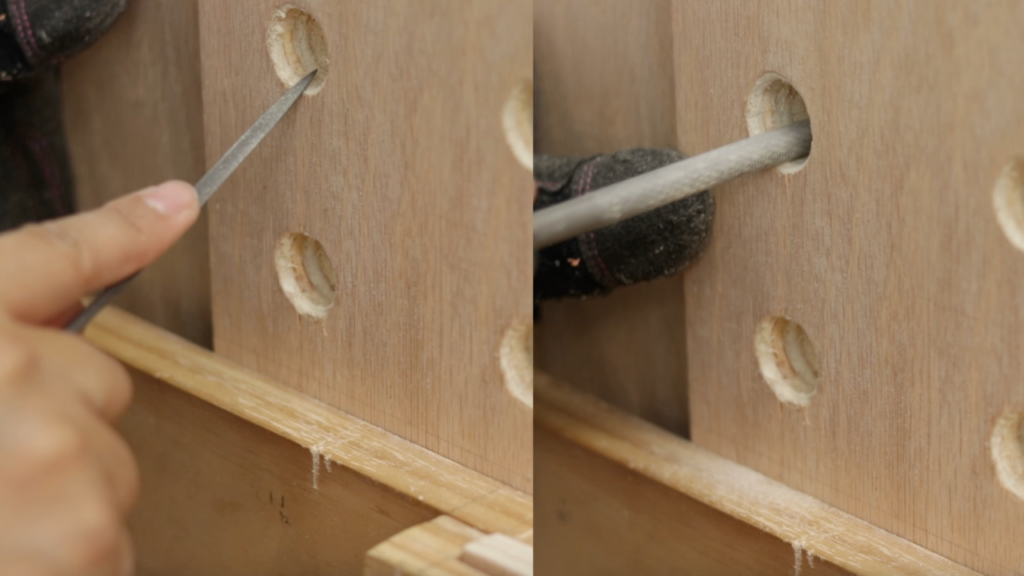
Tip 4: Refine the finish
Files are really helpful for this job here, dealing both the thin veneer and the rough surface inside the hole. I choose the half round file for the outer edge of the hole, and the rough round file for the rough surface inside the hole.
Hope you can give it a try, and enjoy the process as I am!